Avatar Set - Frame Guide
The frames used for this set are 1cm wider than the prints themselves.
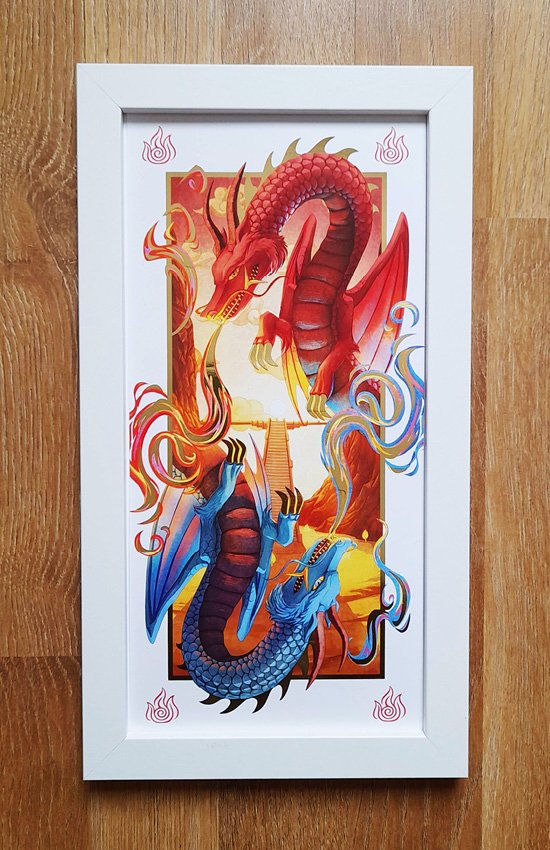
Frame size: 15 x 30cm
Print size: is 14 x 30cm (13,8 x 29,7, to be exact)
I can recommend the BGA store to find other 15 x 30cm frames, though I advise getting a white frame for this set specifically to create the illusion of a bigger passepartout.

Set-up Tutorial
Here is the front- and backview of the frame. The backside allows for a hook to be inserted so you can hang the frame on your wall.
DE: Hier sieht man die die Vorder- und Rückseite des Rahmens. Auf der Rückseite kann ein Haken für eine Wandmontage angebracht werden.

Tipp: I use a small spoon to get under the stripes that hold the backside to the frame. Bending these sripes with your fingers can be painful after a while!
DE: Tipp: Ich benutze einen kleinen Löffel, um unter die Streifen zu kommen, die die Rückseite gegen den Rahmen halten. Das Biegen dieser Streifen mit den Fingern kann nach einer Weile nämlich schmerzhaft sein!

After the backdrop has been removed, we can see that the frame has an indentation where the paper rests.
DE: Nach dem Entfernen der Rückseite kann man erkennen, dass der Rahmen eine Vertiefung hat, in der das Papier aufliegt.


Since the prints are 14cm and not 15cm wide, the area that holds the print in place isn’t wide enough. This is why I tape the print onto the backdrop. An extra sheet of paper comes into play to avoid the brown backdrop to flash against the white boarder of the print:
Get a plain sheet of white A4 paper and cut 6cm off, making it 15cm wide.
Use masking tape to attach this plain sheet of paper to the backdrop.
Tape the print on top and try to make it as centered as possible. A 6mm white boarder should now be visible on the left and right side of the print.
Put the print back in the frame and you’re done :)
DE: Da die Drucke 14 cm und nicht 15 cm breit sind, ist der Bereich, der den Druck festhält, nicht breit genug. Deshalb klebe ich den Druck auf den Hintergrund. Ein zusätzliches Blatt Papier kommt ins Spiel, um zu verhindern, dass die Braune Platte gegen das weiße Papier blitzt.
Nimm ein weißes Blatt A4-Papier und schneide 6 cm ab, so dass es 15 cm breit ist.
Befestige dieses weiße Blatt Papier mit Kreppband an der braunen Platte.
Klebe den Druck obendrauf und versuche ihn so zentriert wie möglich zu platzieren. Auf der linken und rechten Seite sollten nun ein 6 mm breiter weißer Rand zu sehen sein.
Lege die Platte zurück in den Rahmen and schon ist es fertig :)